I’ve recently started developing iOS applications and on my journey of discovery I have discovered a number of useful little gems of information which I wanted to share.
The first of these gems is how to set the top border colour of a UINavBar element.
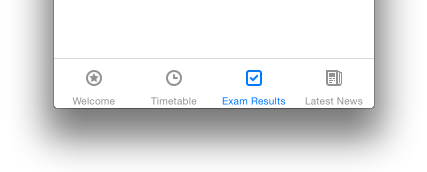
By default, iOS includes a grey bar at the top of the bar itself. This line is actually outside the UINavBar view and not easily configurable using Interface Builder. In order to change this bar, you must create a new layer within the bar and hide the default border.
Firstly, you’ll need to connect your UITabBar up to a view controller as an IBAction. In this example, I have called it tabBar.
// Create a new layer which is the width of the device and with a heigh
// of 0.5px.
CALayer *topBorder = [CALayer layer];
topBorder.frame = CGRectMake(0.0f, 0.0f, self.view.frame.size.width, 0.5f);

// Set the background colour of the new layer to the colour you wish to
// use for the border.
topBorder.backgroundColor = [[UIColor blueColor] CGColor];

// Add the later to the tab bar's existing layer
[self.tabBar.layer addSublayer:topBorder];
In order to hide the system border, I have found that it’s usually enough to simply set the clipsToBounds property on the tab bar to true.
self.tabBar.clipsToBounds = YES;