Staytus is the open source publishing platform that I developed last year when we needed something simple to help us communicate with our customers when issues arise with our service.
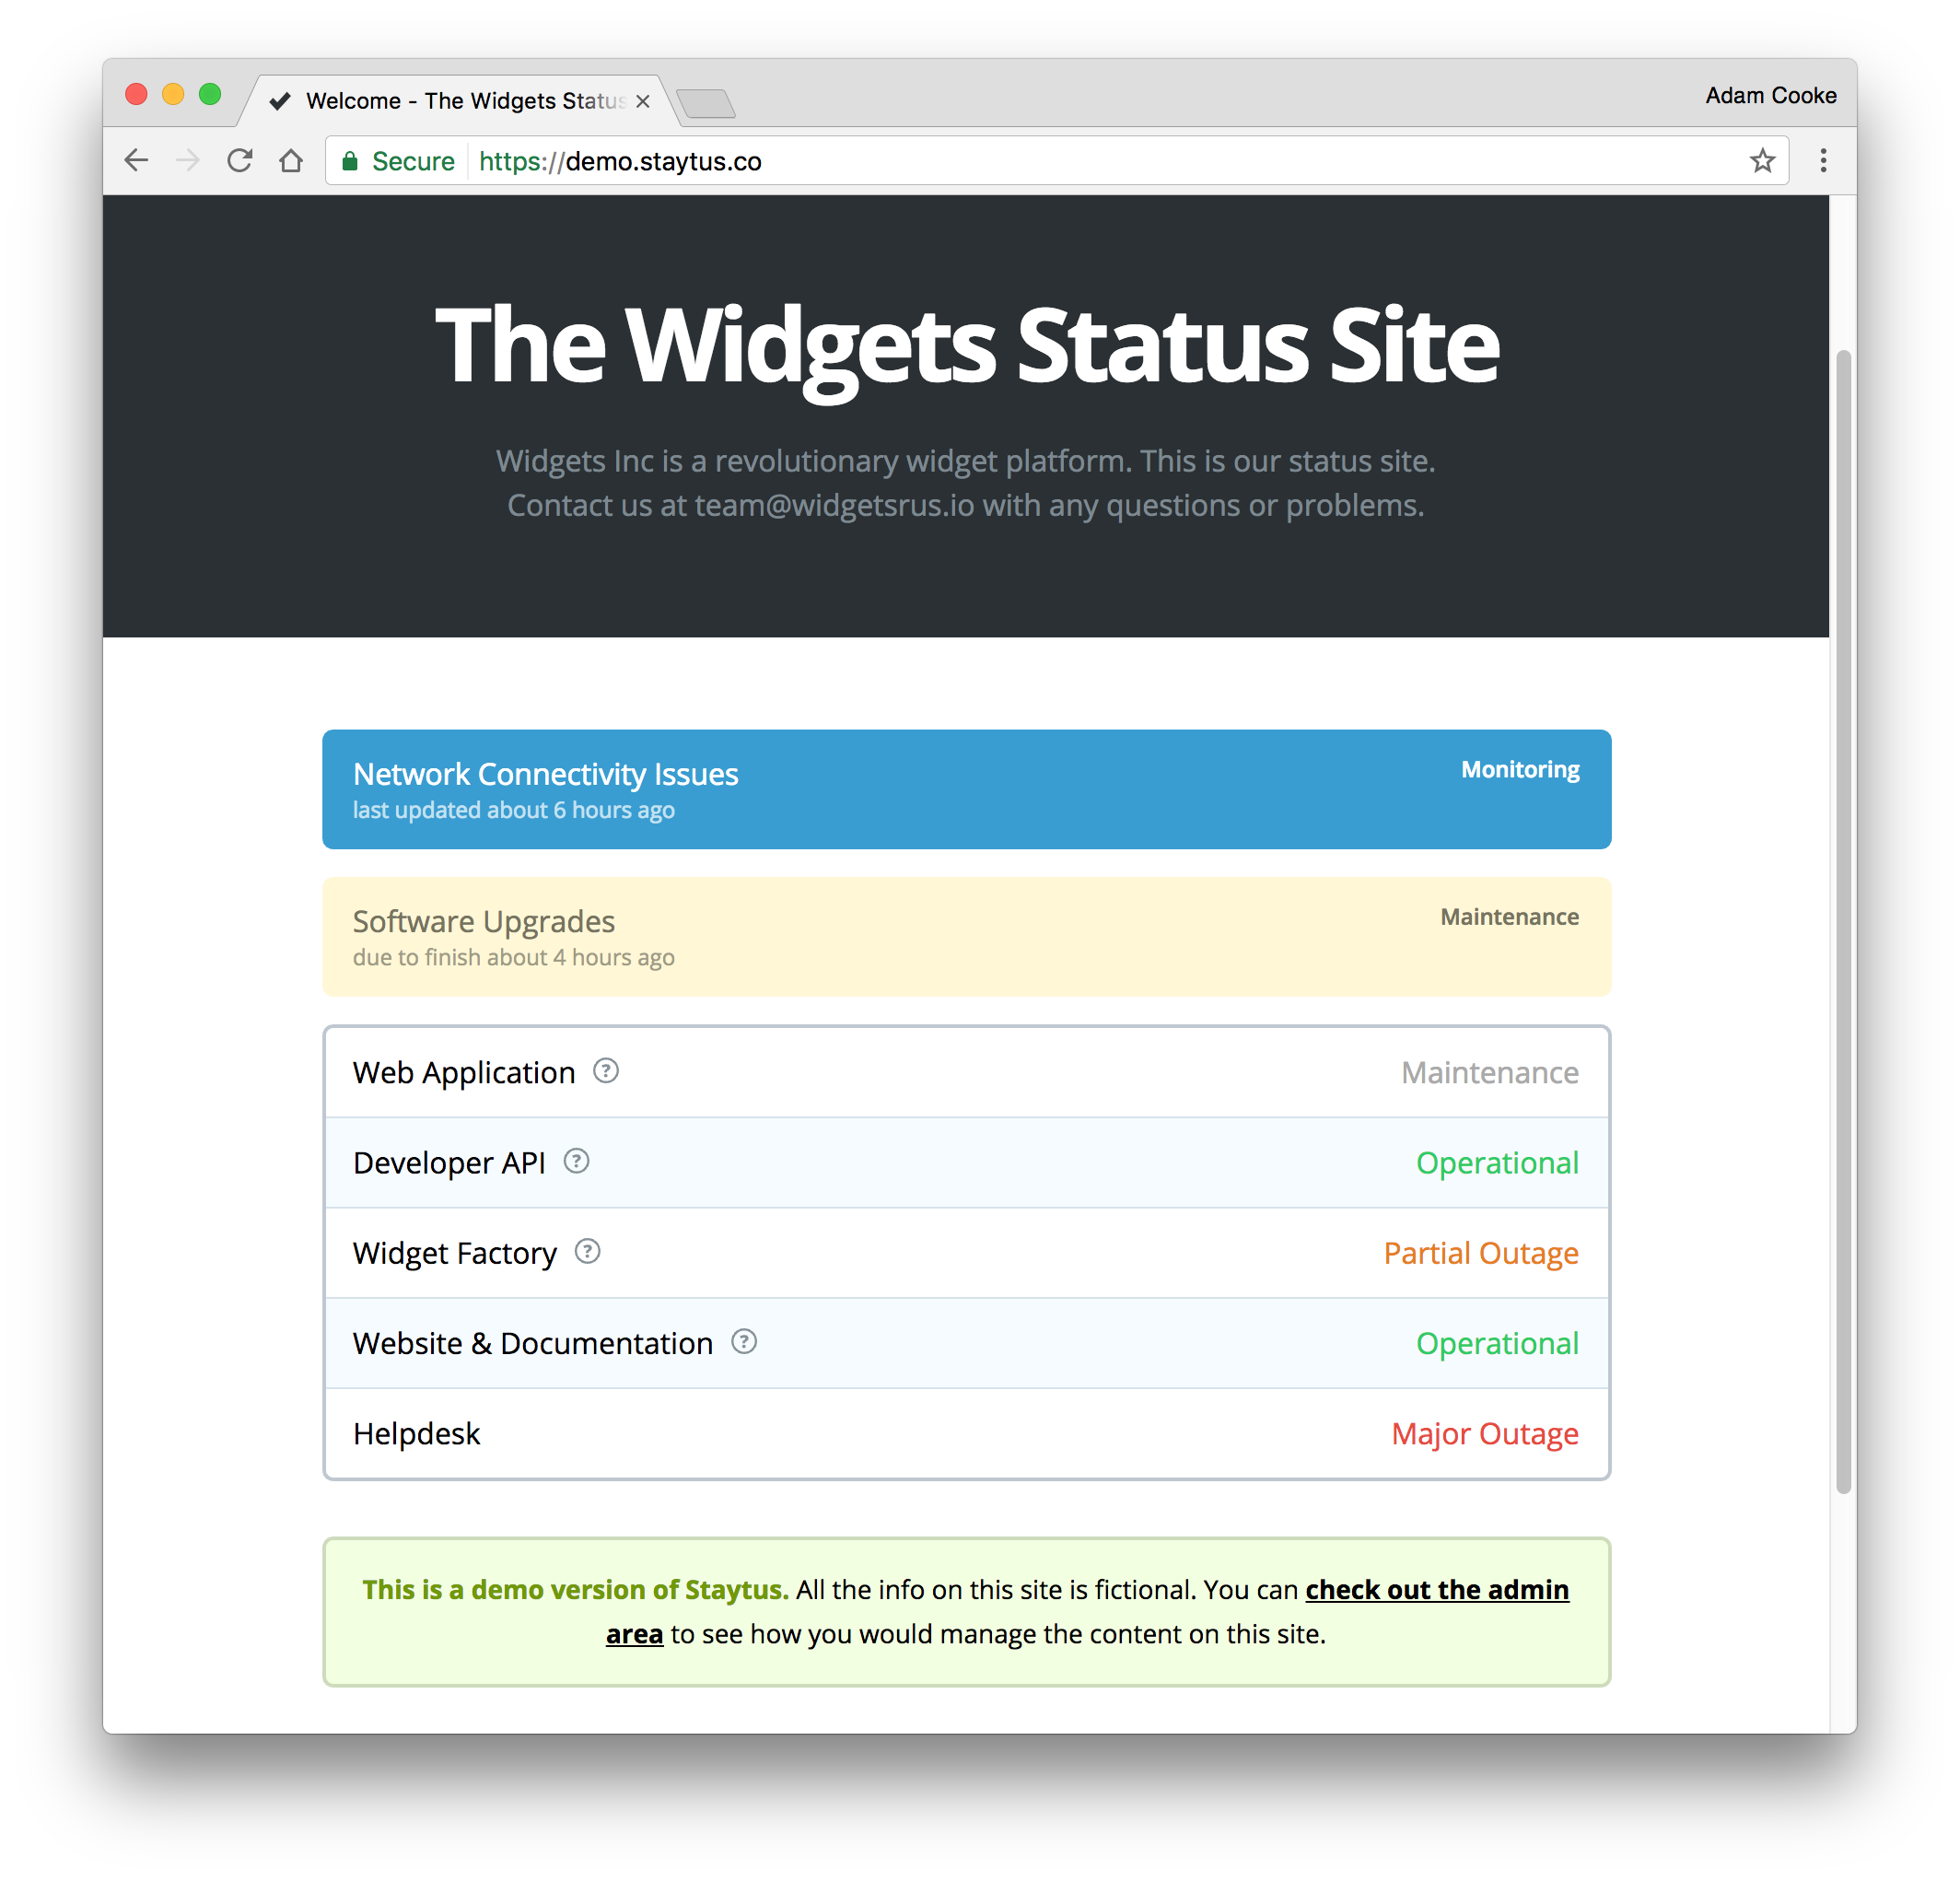
In this blog post, I'm going to fully explain how to get Staytus up and running on an Ubuntu 16.04 server. This post contains everything you need to know to be up and running in less than 10 minutes. To begin, you'll need a server running Ubuntu 16.04.
For this tutorial, we're going to assume that you're logged into your server as an unprivileged user with access to run commands as root using sudo.
Installing pre-requisites
The main things you need are Ruby (for actually running the app), Node.js (to help with javascript compilation) and MySQL (as the backend database). Let's start by getting them installed.
$ sudo apt update
$ sudo apt install mysql-server ruby ruby-dev nodejs git build-essential libmysqlclient-dev
$ sudo gem install bundler procodile
You'll be prompted to choose a password for your root MySQL user. Choose something secure and make a note of it, you'll be needing it shortly.
Creating your database
All the data that Staytus generates will be stored in your database. We'll go ahead and create a database and a user in your MySQL database. Get yourself a MySQL console and run the queries below. You'll be prompted to enter your root password that you entered in the previous password.
$ mysql -u root -p
CREATE DATABASE `staytus` CHARSET utf8mb4 COLLATE utf8mb4_unicode_ci;
CREATE USER `staytus`@`127.0.0.1` IDENTIFIED BY 'choose-a-password';
GRANT ALL ON `staytus`.* TO `staytus`@`127.0.0.1`;
You can now exit the MySQL console. You shouldn't need that again for this tutorial.
Getting ready for Staytus
For security reasons, it isn't recommended to run your Staytus application as the root user. We'll now create a system user for Staytus to run as.
$ sudo useradd -r -d /opt/staytus -m -s /bin/bash staytus
This will create a user called staytus with a home directory in /opt/staytus. This is the directory that we will use for actually storing the application.
Downloading the application
Staytus is just distributed from its GitHub repository so it's trivial to download it straight onto your server.
$ sudo -u staytus git clone https://github.com/adamcooke/staytus /opt/staytus/staytus
Getting started
So we've got our system pre-reqs installed and we're ready to start getting Staytus running. There are a few steps we need to do first:
- We need to install all the RubyGems that Staytus depends upon
- We need to configure our database
- We need to compile all the CSS & Javascript that it is needed for the application
- We need to load the initial database schema in to the database
For the rest of this guide, we'll be working from the root of the application.
$ cd /opt/staytus/staytus
We'll start by installing all the Ruby dependencies the application requires. Run the command below to install everything that's required. This may take a few moments.
$ sudo -u staytus bundle install --deployment --without development:test
Next, we need to update the database configuration to point to the database we created earlier.
$ sudo -u staytus cp config/database.example.yml config/database.yml
$ sudo -u staytus nano -w config/database.yml
You need to add the following information to your new database.yml in the appropriate place under default.
- Hostname: localhost
- Username: staytus
- Password: the password you chose earlier
We're now going to compile the assets required for the application's stylesheets & javascript files. This keeps the application snappy.
$ sudo -u staytus bundle exec rake staytus:build
Finally, we just need to run the setup tool which will populate our database with our initial schema.
$ sudo -u staytus bundle exec rake staytus:install
Give it a test
Right... we're getting there now. It's time to run up the Staytus application and check everything is working as we'd expect.
$ sudo -u staytus procodile start --dev
This will run Staytus in the foreground so we can see everything that's happening. We'll be moving it to run in the background shortly.
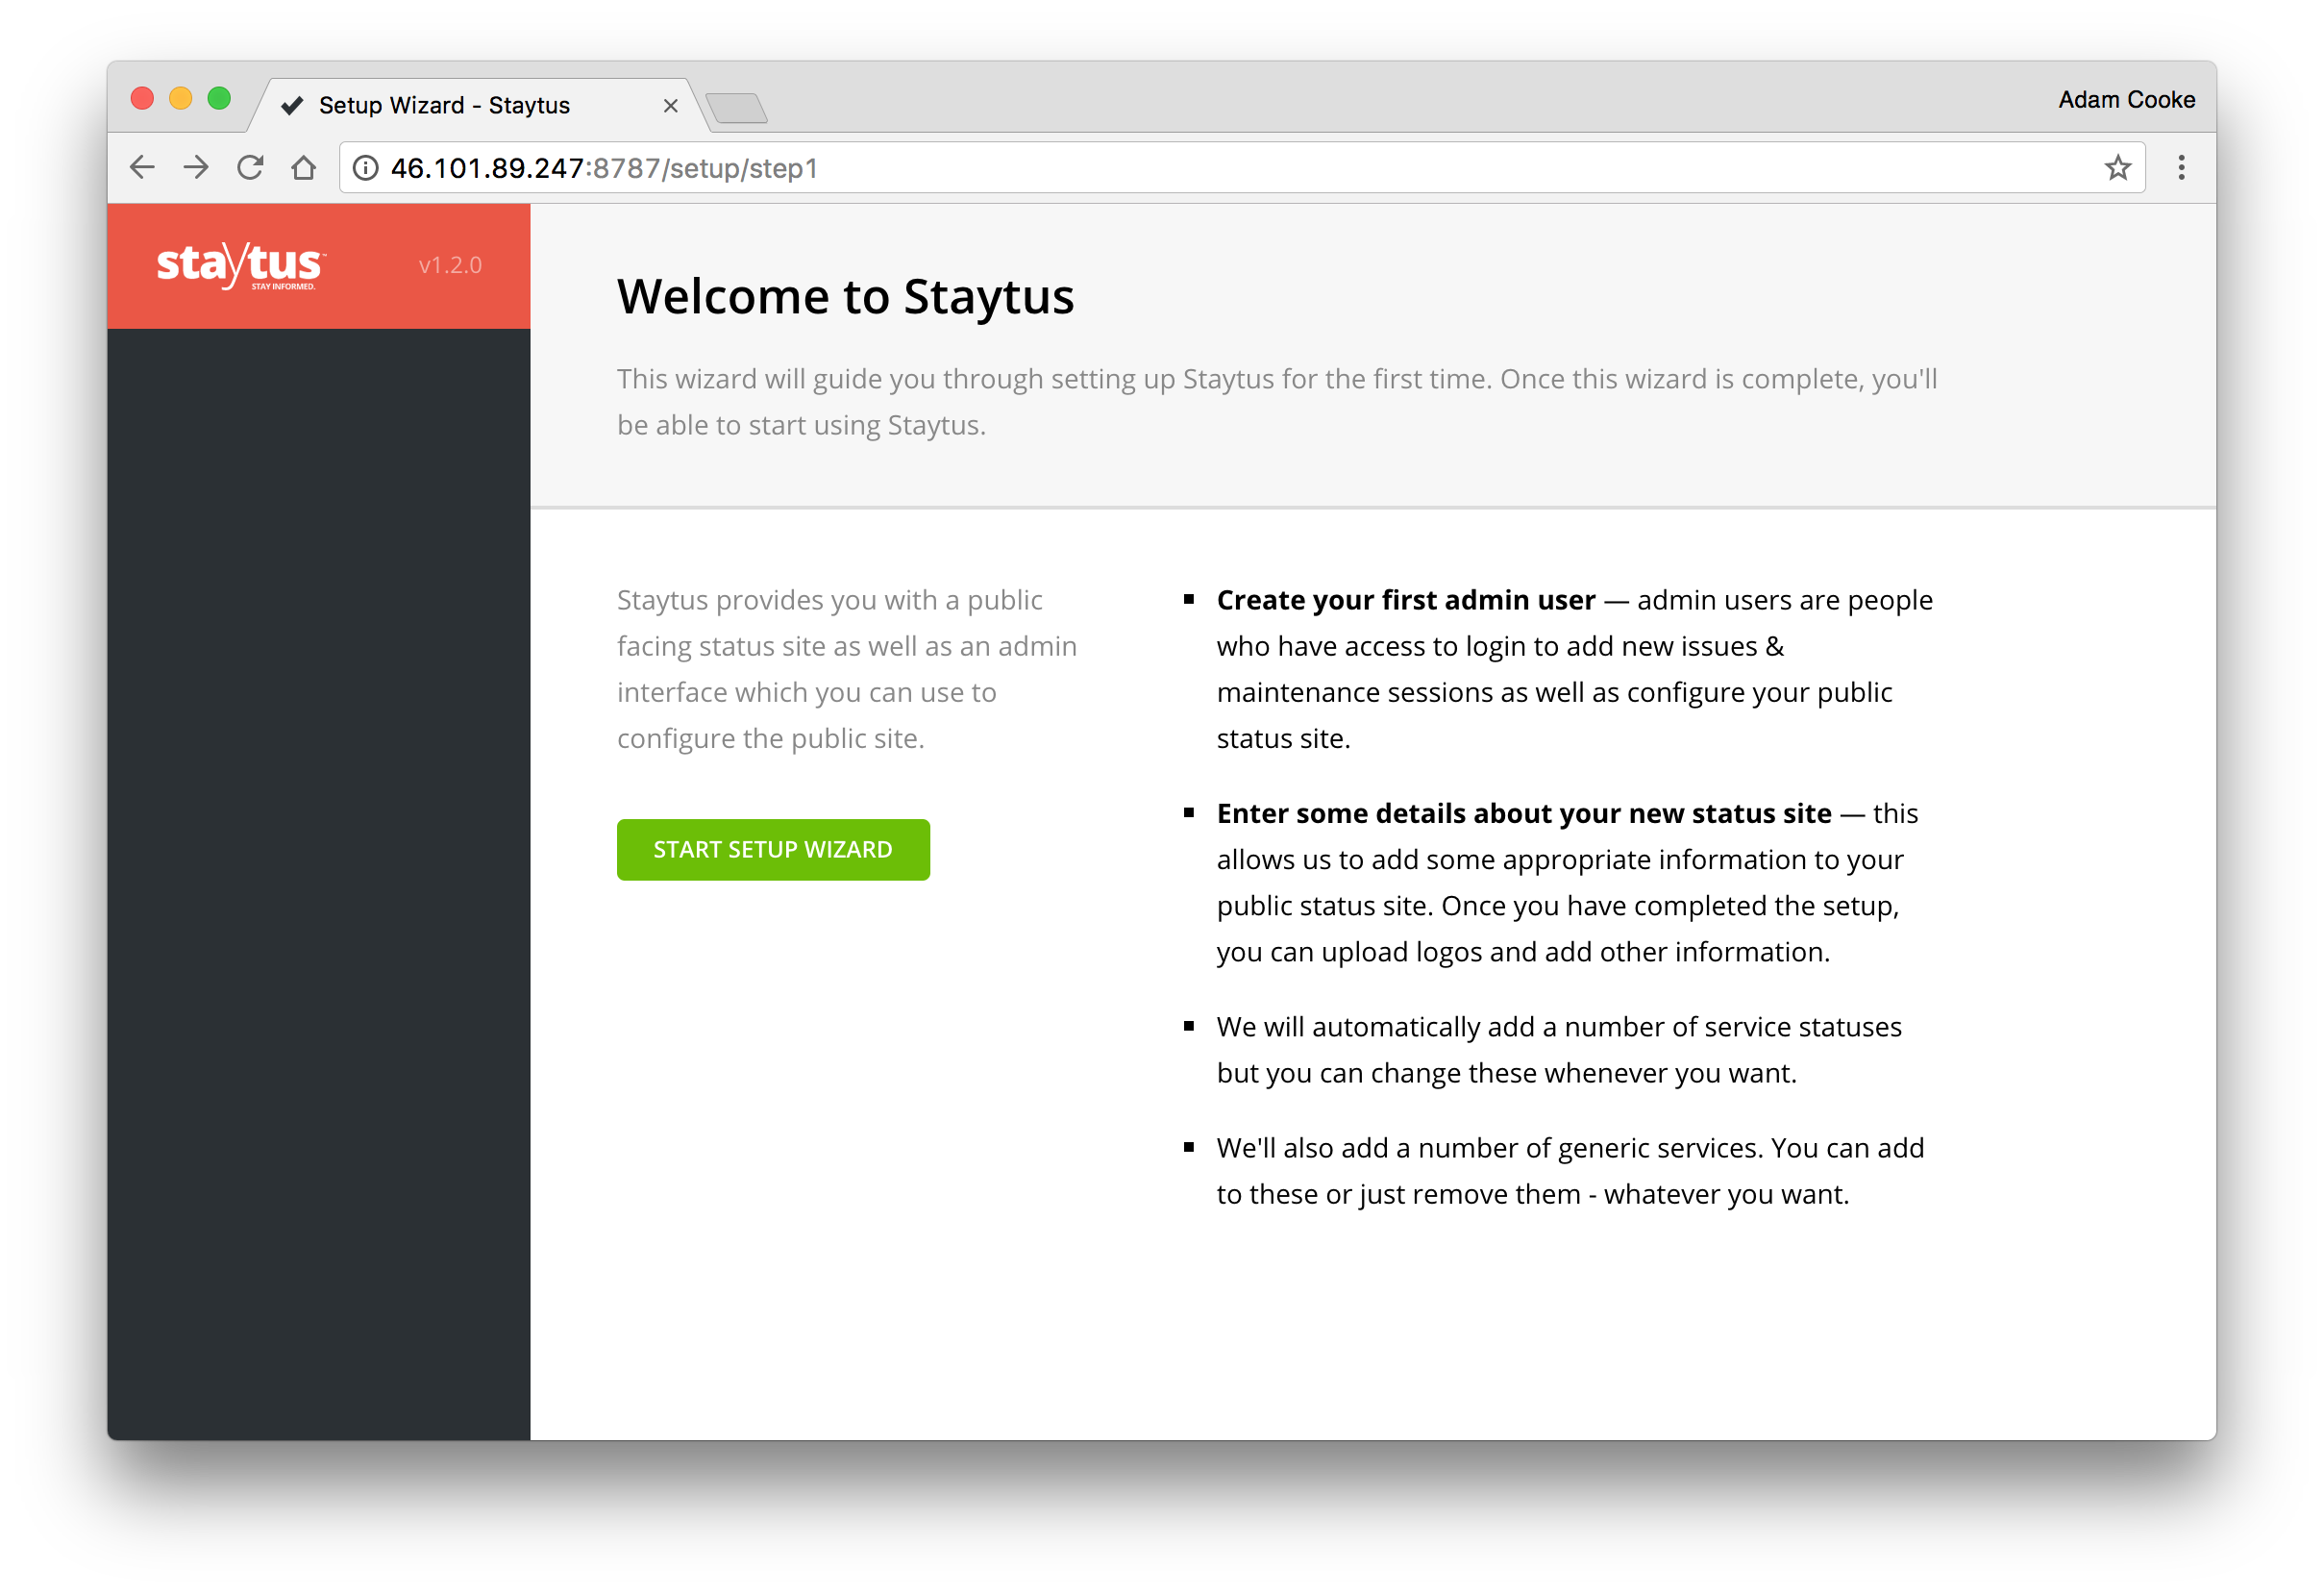
Open up a web browser and point it to http://[yourIP]:8787. You'll be greeted by the installation wizard. Complete all of this and then come back here to finish off the rest of the installation.
When you've completed the wizard, press CTRL+C on your keyboard to stop it running.
Running in the background
Now you're satisfied everything is running as you'd hope. You can switch this over to run in the background.
$ sudo -u staytus procodile start
This will keep the processes running at all times. You can view the staytus by running procodile status.
Moving to port 80 using nginx
At the moment you need to access Staytus on port 8787 which isn't ideal. Next we'll install nginx and get everything running on port 80. You can start by installing nginx.
$ sudo apt install nginx
Once installed, we'll need to add some configuration. To save some time you can download an example nginx vhost file using the URL below.
$ sudo curl -o /etc/nginx/sites-available/staytus https://share.adam.ac/files/2017/nginx.staytus.conf
$ sudo ln -fs /etc/nginx/sites-available/staytus /etc/nginx/sites-enabled/default
$ sudo systemctl restart nginx
You'll now be able to access your installation without adding the :8787 port suffix.
Note: if you have other sites installed on this server, you may not wish to change the default vhost above. In these cases, you will need to adjust your nginx configuration as appropriate.
Configuring outgoing e-mail
Staytus is able to send e-mails automatically. You'll just need to setup and add the appropriate SMTP server details to your application. Open up your environment.yml and add the appropriate SMTP credentials.
$ sudo -u staytus nano -w /opt/staytus/staytus/config/environment.yml
STAYTUS_SMTP_HOSTNAME: your-smtp-server-hostname
STAYTUS_SMTP_USERNAME: your-smtp-username
STAYTUS_SMTP_PASSWORD: your-smtp-passworrd
You can use any SMTP compatible mail service for this, whether it's running on your server or externally.
If you make changes to your database & environment configuration files you will need to restart Staytus. You can do this using sudo -u staytus procodile restart from the /opt/staytus/staytus directory.
Upgrading
Upgrading your installation is quite a simple task. To upgrade, just follow these steps.
$ cd /opt/staytus/staytus
$ sudo -u staytus procodile stop -s --wait
$ sudo -u staytus git pull origin master
$ sudo -u staytus bundle
$ sudo -u staytus bundle exec rake staytus:build staytus:upgrade
$ sudo -u staytus procodile start
Next steps
You're all done now. There are a few things you can look at next though which are outside the scope of this tutorial:
- Add some DNS
- Adding SSL to your nginx configuration